

Most people are encountering the problem of not being able to connect to NVidia when they are updating their Windows OS of version 7 or above. This becomes especially problematic for different gamers as it is the heart and soul of the gaming system and is what provides the method with power. However, this problem can be solved with the help of a few simple steps.
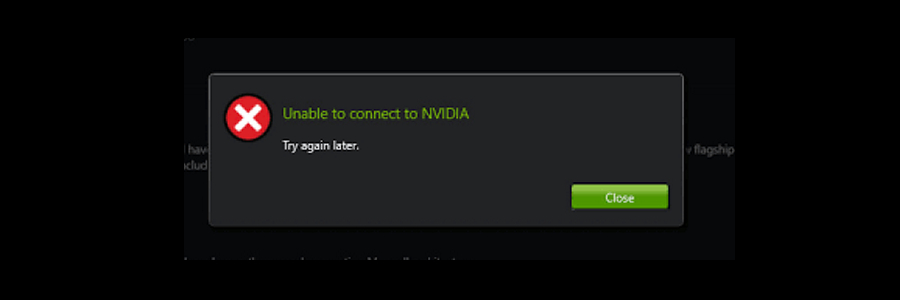
Since 2014, one of the major problems faced by the gamers whenever they are trying to update their OS or is replacing an old video card with a new one is the “unable to connect to Nvidia” message shown by GeForce Experience. Although it has been a persistent problem even when we check for updates of the OS, there has been no solid fixes from NVidia.
Contents
3 Solutions for Geforce Experience “Unable to Connect to Nvidia” Problem
Fix 1: Deleting NSManagedTasks.xml
This fix is the most common one and works on most of the computers. Also, one of the simplest methods in few steps:
Step 1: Go to C:\ProgramData\NVIDIA Corporation\NetService\ and find the NSManagedTasks.xml which usually causes the error and delete it.
Step 2: Launch the task manager by pressing CTRL + ALT + DELETE altogether. Find NVNetworkService.exe and kill the process also tick the box against Show processes from all users once you have found it.
Step 3: Press Win + R and paste services.msc in the Run command window that will open and hit Enter.
Step 4: The above action will open a new window on your screen and search for NVIDIA Network Service from the available list.
Step 5: Right, click on the option and click on the Start option.
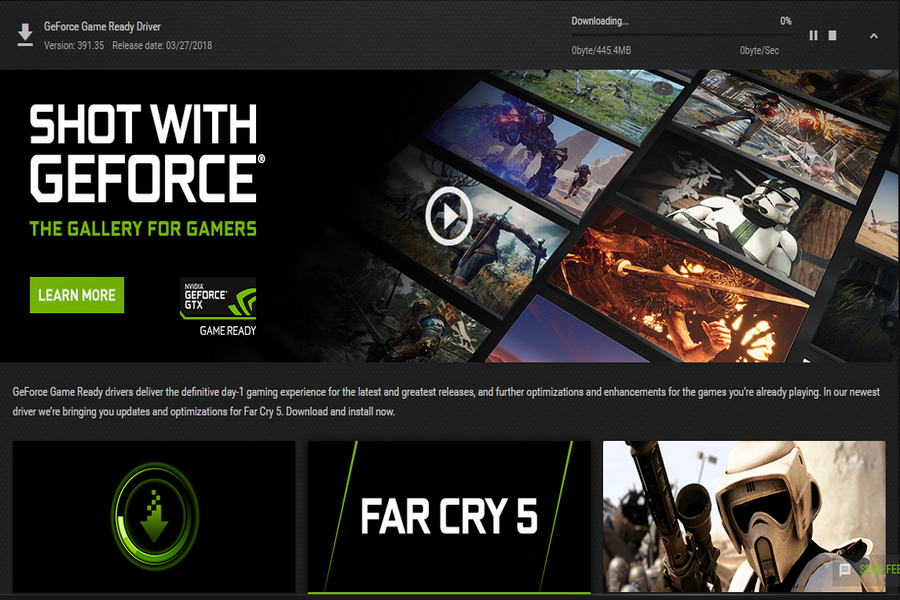
Step 6: This will get the GeForce Experience tool running, and you will get a window like below; close it and rerun it to solve the problem and allow you to update it in an error-free manner.
Fix 2: Unable to Connect to Nvidia
The next fix comes when you leave the whole system in the hands of the service provider, i.e., GeForce:
Step 1: Go to your browser and visit www.geforce.com/drivers, the first option available will be Automatic Driver Updates and Click on Download.
Step 2: This will help you to automatically download the latest version of the GeForce Experience on your device and install it on the same by deleting the existing version of the software.
Once it is installed, you can now check for updates, and the problem will be solved. But it is advised to uninstall the driver manually.Fix 3: Changing Hosts Files
This is one of the advanced options which includes changing the hosts’ IP address which requires a certain level of expertise and should not be tried by novices.
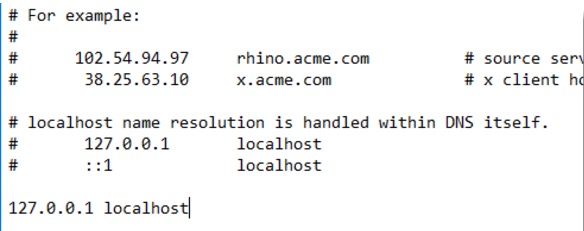
Step 1: Go to C:\Windows\System32\drivers\etc and open the host in the Notepad.
Step 2: Create a backup copy of the available text before editing it. Change the local host “0.0.0.0” to “127.0.0.1” or remove “x.x.x.x” localhost.
Step 3: If you can’t edit it on the spot then you can copy paste it in some other place, write it and then paste it back.
Step 4: Open and try updating GeForce again and it should work.
Solved!
The solutions that have been provided in the article are tried by ourselves as we have faced similar problems in our computers. We hope these solutions will help you solve Nvidia connect problem. However, if the same problem persists, please tell us in the comment section below, and we will try our best to get the help for you.
Edited By: Abhiyanshu Satvat