Anyone new to video and sound editing will quickly find themselves swamped by dozens of new terms, acronyms and industry jargon. It can be a little overwhelming at times, which is where we step in to shine light on the technical aspects of the editing process to help you become the best content creators you can be.
Today, we’ll be looking at transcoding with Adobe Media Encoder, explaining what the process is, why it’s useful and how to do it.

What Is the Transcoding Process?
The terms transcoding and encoding are often used interchangeably, but there are key differences between the two. Encoding is essentially the process of compressing one form of recorded media into another so it becomes compatible with one type of device.
For example, you might take the data from your webcam, audio device or capture card and encode it into a format that’s compatible with streaming platforms.
Transcoding adds a new step to the process. It takes data that’s already been encoded in one format before then converting it into multiple, different, formats. This allows users to increase the number of devices that specific pieces of media will now be compatible with.
For instance, you could transcode a 4K video into 1080p or 720p resolution and upload it to youtube. Now users will be able to select which resolution they’d like to watch the video in. Transcoding can change other factors too, like bitrates, file size and format. The aim is to make your media compatible with as many devices as possible.
Bear in mind that the more you decode and alter files, the greater the loss in quality will be. Every time you run a file through the transcoding process, a certain amount of data will be lost. So while it’ll now be compatible with more devices, you’ll see a corresponding drop in image and sound quality.
How Does It Work In Adobe?
Adobe has one of the best editing suites on the market. Its encoding and compression software definitely helps reduce the loss of quality users can sometimes experience when encoding, meaning it remains the number one choice of editors the world over. Plus, it comes with some pretty nifty extra features to incentivize users to adopt the platform.
Background encoding
Most editing software will stop you from amending a project as soon as you click the encode button, and the screen locks up preventing any further changes. For particularly large files this could mean up to an hour of lost time as the platform chugs away.
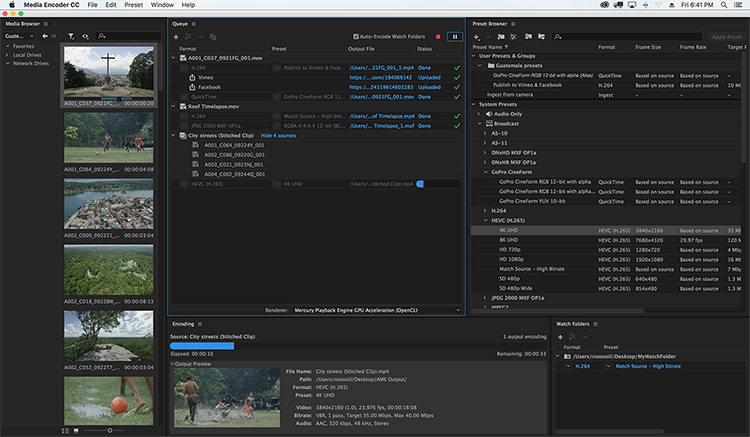
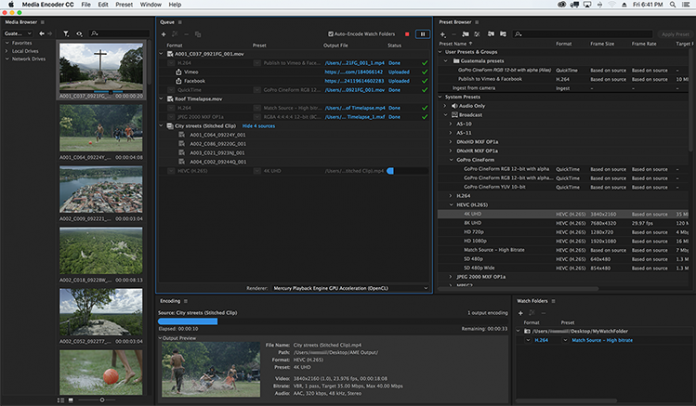
However, Adobe Media Encoder allows you to keep working on your project while it encodes in the background. While you might see a little slow-down, it’s certainly a lot more time efficient than sitting around twiddling your thumbs waiting for tasks to complete.
Use of Watch Folders
Adobe’s watch folders allow you to set up automated encoding workflows. Here, configure each folder with a number of presets, and Adobe will be constantly scanning for new files you drop into this folder and will automatically transcode them into the file type you like. This is a great time saver for those of you that have a large number of audio and video recordings you need to edit.
Automated Uploads to Streaming Sites and Social Media
Those using the Media Encoder in conjunction with Adobe premiere can automatically upload to popular video streaming sites like YouTube and Vimeo, or to your Facebook and Twitter accounts. As soon as the platform has finished transcoding, it’ll post your video to every platform you’ve selected, saving you from having to waste time with individual uploads.
Final Thoughts
It’s worth noting that Adobe Media Encoder can’t be purchased as a standalone package. It comes bundled with Premiere Pro or Adobe After Effects. Both are great editing tools, and the encoder works seamlessly with minimum loss of quality when encoding.
It’s a particularly important tool to have if you’re a streamer, especially if you want to attract a global audience. For example, viewers in the US may be able to watch your video in 1080p definition no problem, but regions with poorer internet connections might struggle. Plus, lowering the bitrate of your files through the transcoding process can make your content more compatible with weaker mobile devices. Making it accessible to as wide an audience as possible.
Thankfully, Adobe keeps things simple. While it might take some time to get to grips with all of the features on offer, the interface is pretty intuitive and transcoding into different file types is made quite easy by the platform.

