

There are multiple issues that your Windows PC goes through, apart from the networking problems; there are various problems to deal with machine configurations as well. In case the registries in the network aren’t totally true you might not be able to connect to web.
In this article I will tell you about the following errors:
-
One or more network protocols are missing on this computer
-
Windows sockets registry entries required for network connectivity are missing
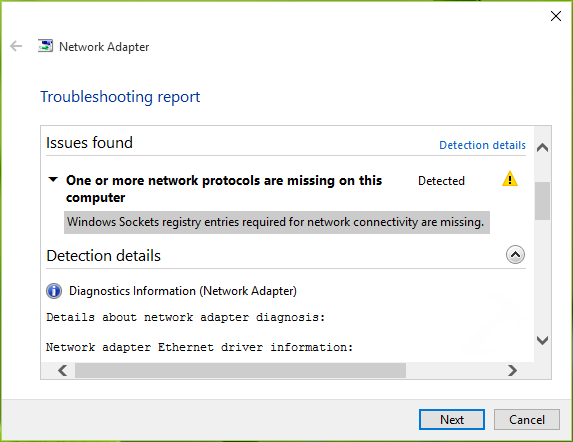
FIX: One Or More Network Protocols Are Missing On This Computer
FIX 1 – Use command prompt to Reset Winsock
This is indeed one of the most basic and simple way to solve the problem- reset Winsock with the use of command prompts. Go to administrative command prompt and over there type the following and press enter:
netsh winsock reset
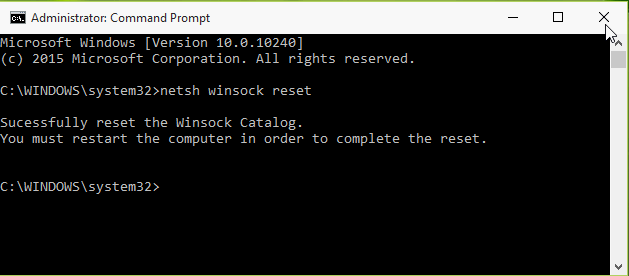 Having done that and after the above command has been run successfully, the system will ask you to reboot the PC in order to finish with the reset. Thus, go ahead and restart the machine and check for problems (if any). If you further find no issues with the restarting, your problem has been solved. If the opposite happens, you will have to reset the socket registry manually. You must be wondering why, it is because if the TCP/IP settings have been affected, a manual reset is required.
FIX 2 – Delete Winsock Registry And Reinstall TCP/IP
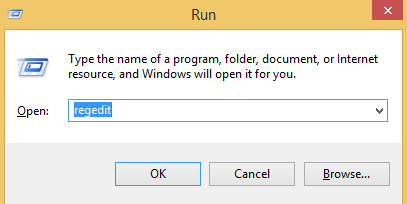
1. Press Window + R and enter regedit into the dialogue box that opens up and click on OK to run it.
2. From the left pane, look up for the following keys:
HKEY_LOCAL_MACHINE\SYSTEM\CurrentControlSet\Services\WinSock2
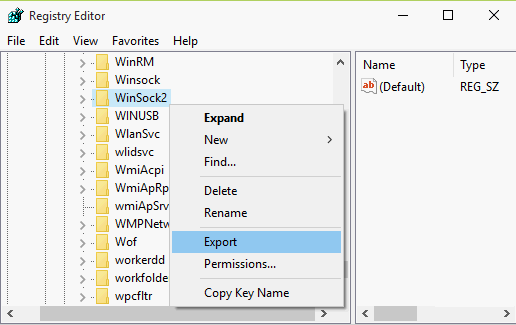
3. Here, clock on WinSock2, and from the drop down menu choose Export. Make sure before proceeding you have a backup of registry entry. Again, with a right click on the drop down menu, click on delete.
 4. Now perform the above step with WinSock(HKEY_LOCAL_MACHINE\SYSTEM\CurrentControlSet\Services\Winsock) registry key also. Next, close the Registry Editor.
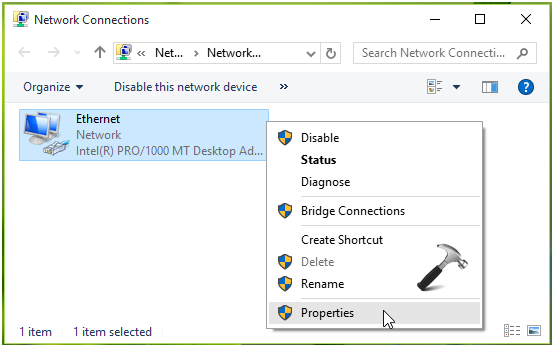
5. Visit the Control Panel and go to Network and Internet followed by Network Connections. Now, over here, select Local Area Connection (or Ethernet connection)with a right click and choose properties.
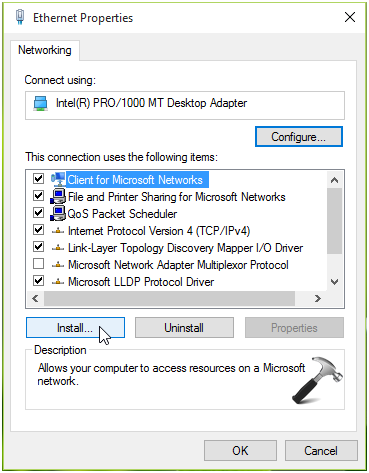
 6. From the selection you made, click on install.
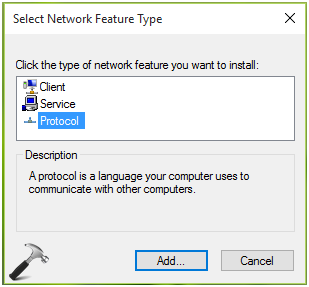
 7. From the next menu, choose Protocol under Select Network Feature Type with a click on add.
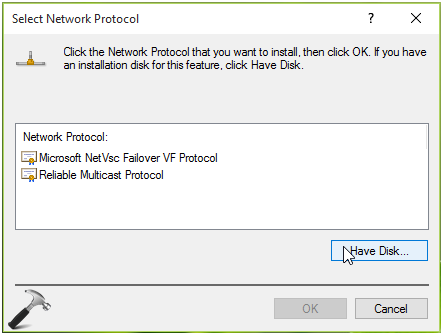
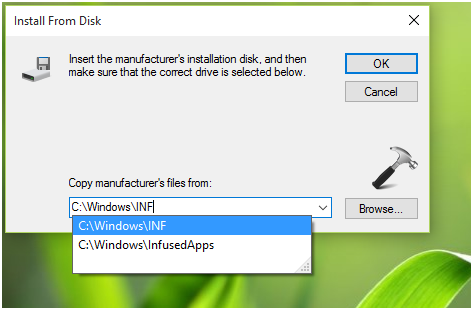
 8. Next, you have to click on Have Disk in the Select Network Protocol window that appears.
 9. Here, choose the system root drive for your PC for installing the file.
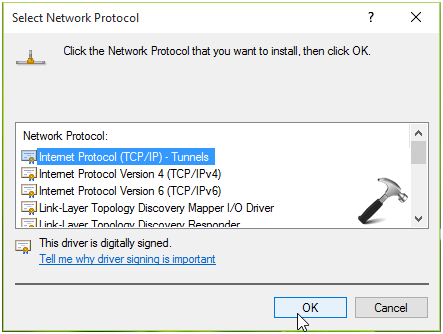
 10. Now you need to choose Protocol (TCP/IP) – Tunnels. Simply click on OK ad close the network sharing centre; restart your PC.
 Now, the entire configuration for PC has been recreated, this in turn helps you in getting rid with the entire problem. So no more errors! Once you restart the PC and proceed with the connecting to the web, you will face no problem.
So finally, no more reboots and regedits! Hope this proved to be of help though!