

Photos are memories. It can be of the person you love, be it family, friends, your partner, pet, or can be of the amazing memories that you captured with someone, maybe on a tour. In any case, photos are precious and priceless, and losing them can be painful and disastrous.
In this article, we are going to help you trace back deleted photos that were stored on either your Windows pc or Mac.
Reasons of photo loss
Photos can be deleted or lost due to various reason such as –
- You deleted them by mistake
- The disk drive or phone was formatted
- Virus attacks
- Photos lost during the cut and paste operation
- Lost photos that were stored in-app lock or gallery vault
Whatever the reason may be, you don’t have to worry, as by using our methods, you are going to recover those precious memories.
How to recover deleted photos from Windows PC?
Recovering photos from a Windows PC is an easy task.
-
Check Recycle Bin
 If you didn’t permanently delete the photos, then a copy of it must be stored in the Recycle Bin. Just follow these steps –
- Open Recycle Bin
- Search for photos
- Restore it
-
Use a data recovery software
iBoysoft data recovery software is one of the best data recovery tools for Windows and Mac. This software has the capability to recover almost all types of deleted files. You need to run the program, and the software will do all the work.
Step 1: Download and install the right version of iBoysoft Data Recovery for your Windows PC.
Step 2: Launch iBoysoft Data Recovery and choose the drive from which you deleted your photos.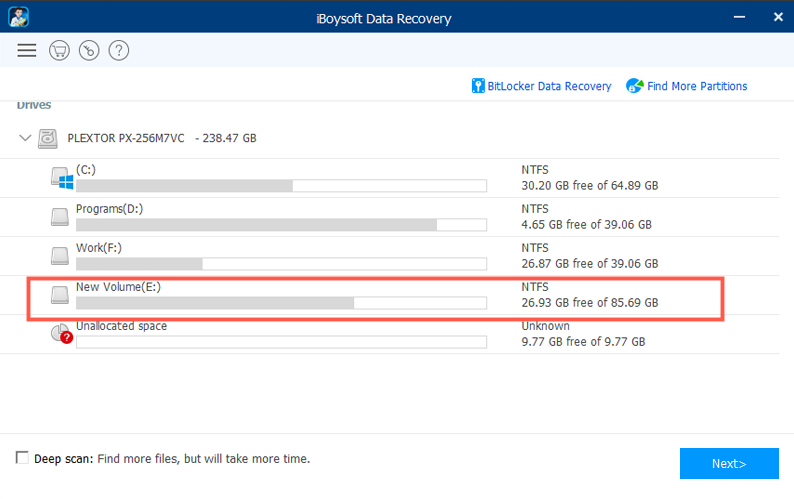
After clicking Next button, iBoysoft Data Recovery will start searching for all deleted photos.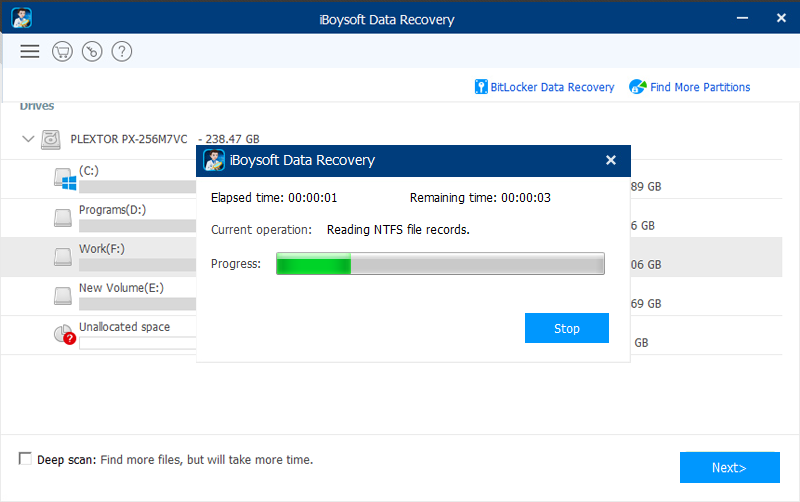
Step 3: You are allowed to preview the scanning results, choose the photos you want to get back and then click “Recover” button.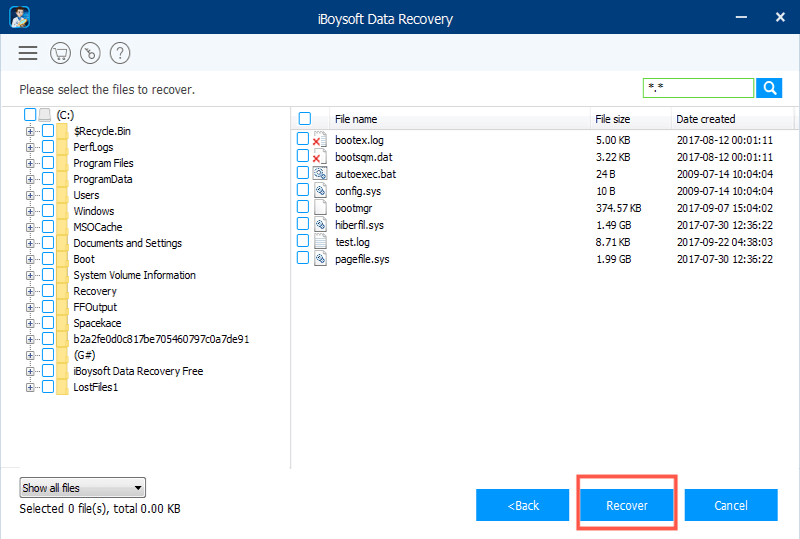
After that, have a check to ensure you have recovered all lost pictures. If you don’t see the desired images you want to recover, click on Back and check Deep scan to restart the scanning process for more files.
How to recover deleted photos on Mac?
-
Recover deleted photos from Mac Trash or Bin
If you haven’t emptied Mac Trash in a while, you can recover deleted photos from Trash on Mac. In this situation, the recovery process is straightforward:
Step 1: Open the Trash on the dock.
Step 2: View a list of files that you have deleted recently.
Step 3: Right-click the photo you want to restore and choose Put Back to its original location.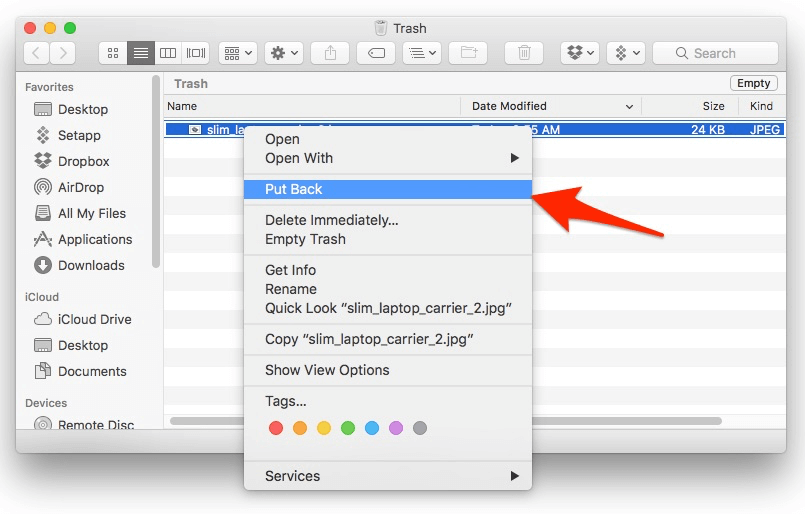
However, you won’t be able to find the deleted photos in Mac Trash.
- The deleted images have been emptied from Trash.
- The photos have been removed from Trash after you choose Delete immediately.
- You press Option + Command + Delete key shortcuts to delete the photos or videos.
- The deleted photos have been in Trash over 30 days while you enabled the option “Remove items from the trash after 30 days” by Finder > Preferences… > Advanced.
-
Restore deleted photos from Time Machine backups
Time Machine is a built-in backup feature of your Mac to automatically back up all of your files, including apps, music, and photos. If you happen to back up your computer using Time Machine before you delete the photos, congratulations! You can now restore the deleted photos with ease. Here’s how:
Step 1: Connect the backup drive to the Mac computer.
Step 2: Open the folder that once contained your deleted files.
Step 3: Click the Time Machine icon in the top left menu bar and select Enter Time Machine.
Step 4: Browse the items in the backup folder by using on-screen up/down arrows or using the timeline at the edge of the screen. If you want to find files of older version, using the timeline to navigate the files is faster. You will be able to see a lot of snapshots of this whole folder and how the folder changes.
Step 5: Select an item and press Space bar or double-click it to preview it.
Step 6: Select the file you want to restore, and then click Restore.
If you don’t have a habit of backing up, iBoysoft also comes with the iBoysoft Data Recovery for Mac for you. Hopefully, you can recover your data.