there was a problem Resetting your PC
Generally, booting issue is resolved by Windows using an automatic repairing tool. This auto repairing tool sometimes fails to give the support you need. It will show you a message which will say that the problem could not have been repaired by Windows. In such a case, where the problem cannot be resolved by the automatic repairing, there are two methods to fix the issue. One of them is really popular and that can be used easily for resolving the problem. A detail of the method has been used for that aspect. Windows booting issues can be really embarrassing for any users. But there is no need to feel helpless. The following process is going to give the perfect resolution to the entire system. Just go through it, and apply it stepwise.
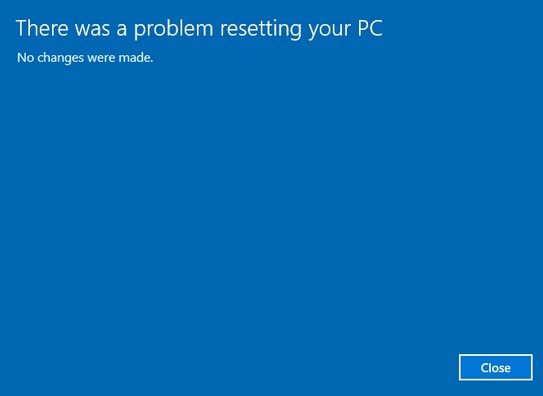
Fix “there was a problem resetting your PC windows 10” Error
Method 1
Step 1
This is the option to recover the system setup, that was in a good shape. Go to the advanced section and you will get four options. To get into this you first need to PC Settings App>>Update and Recovery>> Recovery and then select the Restart Option to boot into the advanced startup.
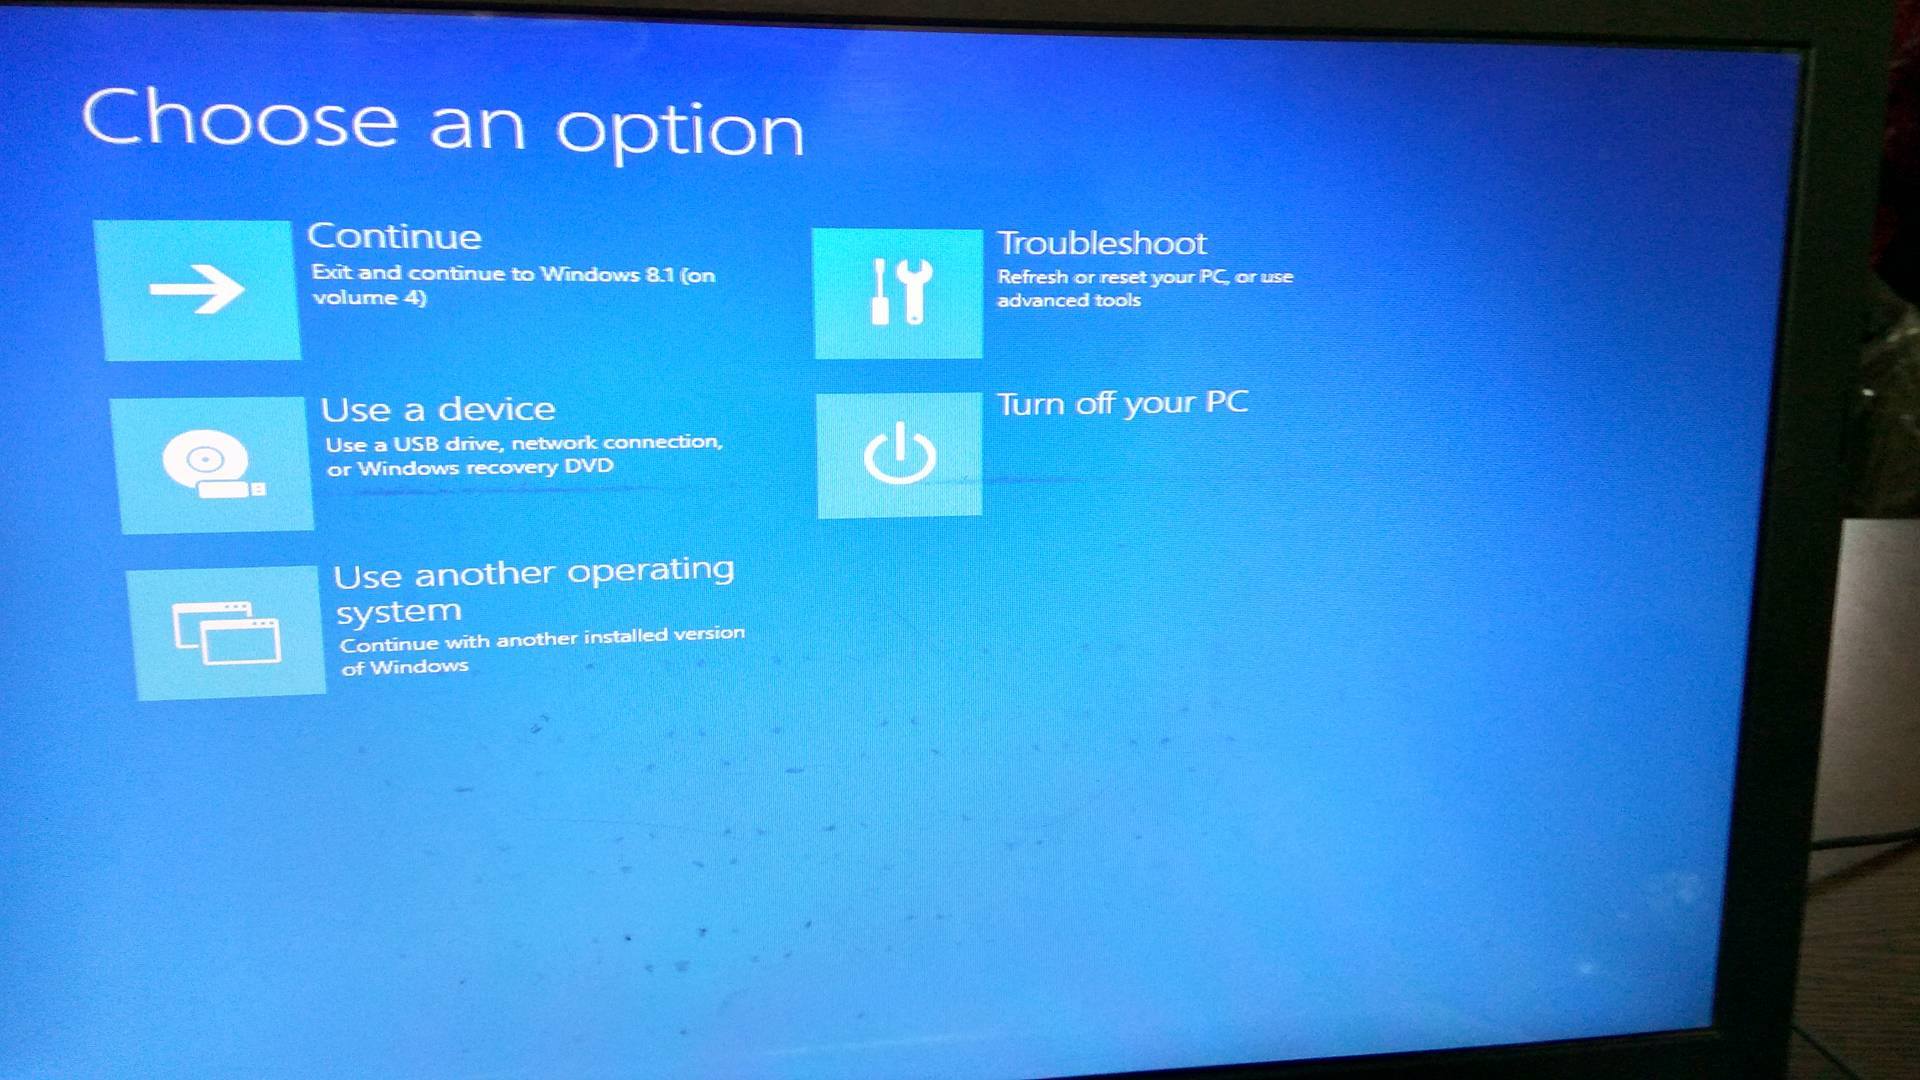
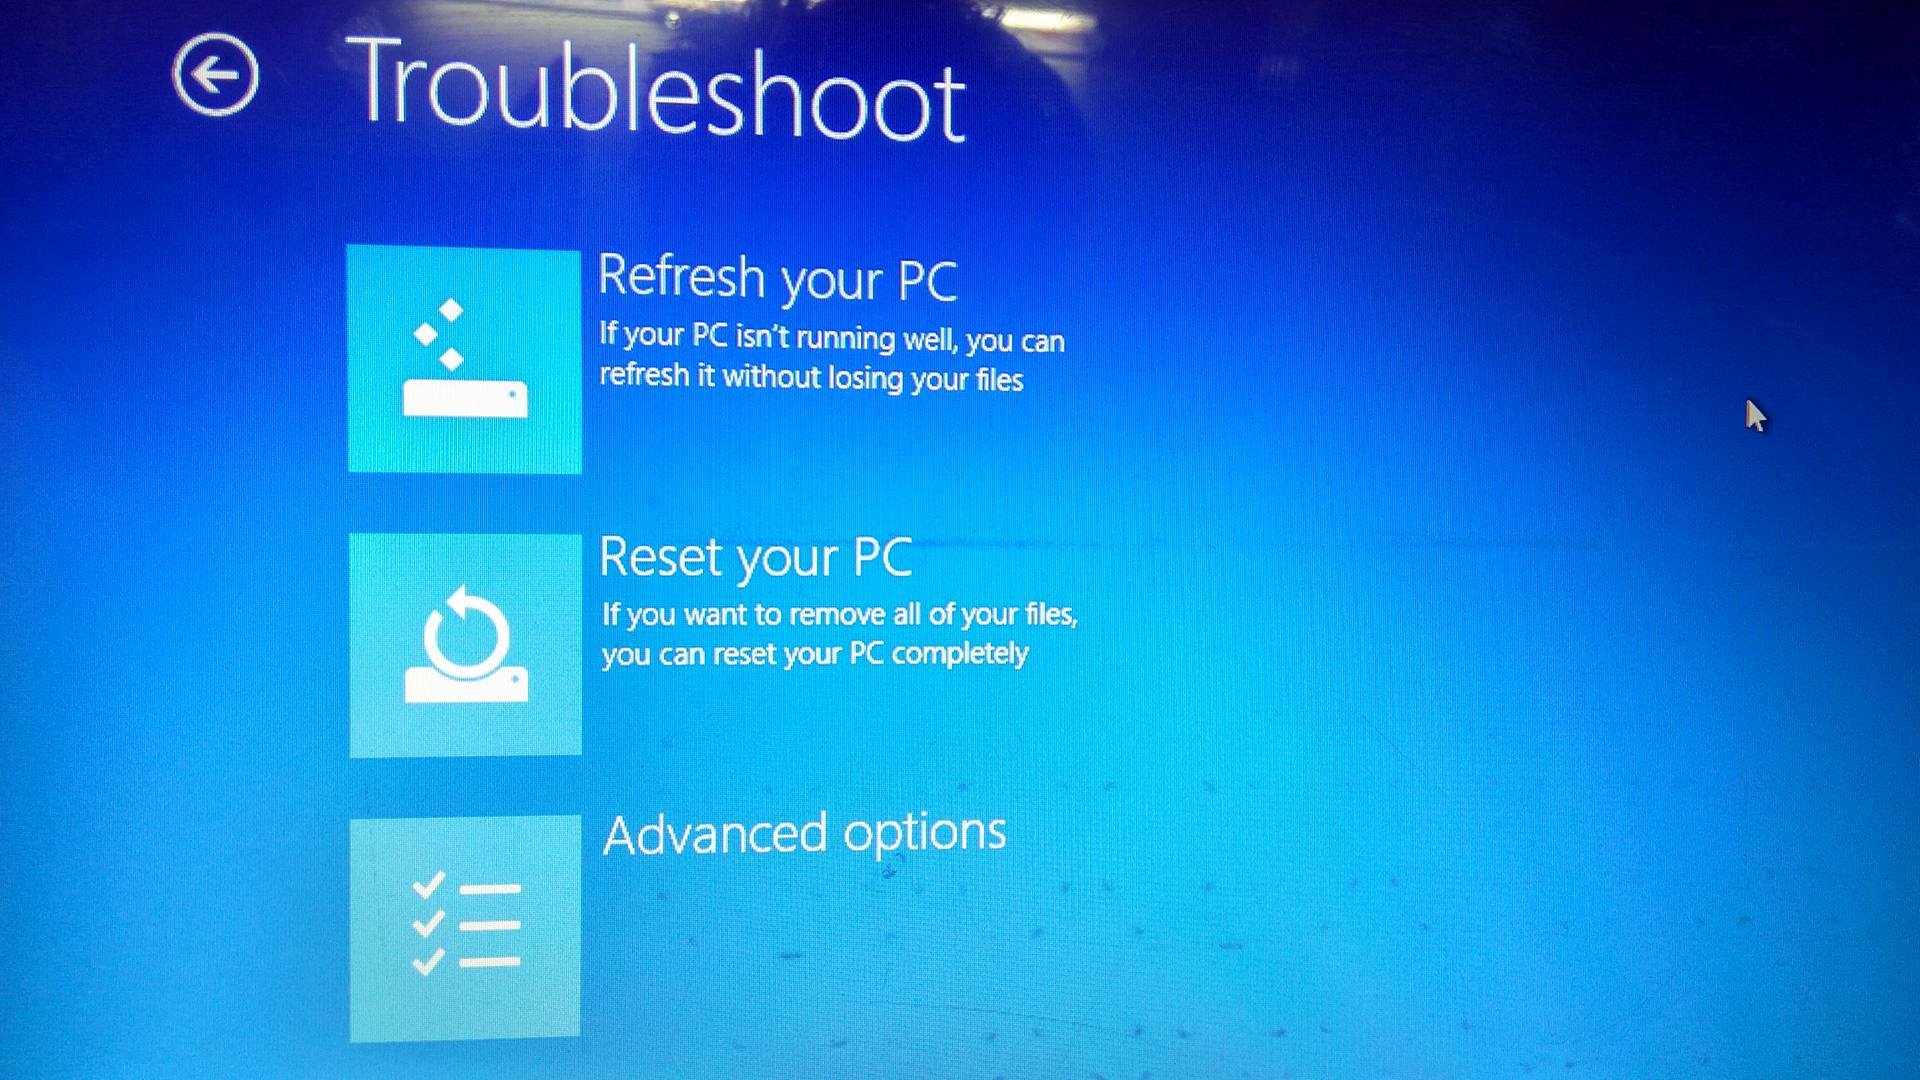
Now Move to Troubleshoot >> Advanced options.
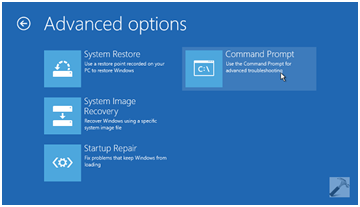
System restore can restore your windows to a date, where the system can be set to a certain date, where windows were functioning in the most accurate way. System Image can recover the windows of a particular time. Windows 10 stores the images of each successful booting. Browse an image and windows will come down with a solution. If none of the program short key is going to help you out, use the command prompt.
Step 2
In the second step, you will have to enroll yourself as the authenticated user. Enter your credentials, in the area where windows will be seeking the same from you. After the credentials are matched, you are going to get an access to put your commands.
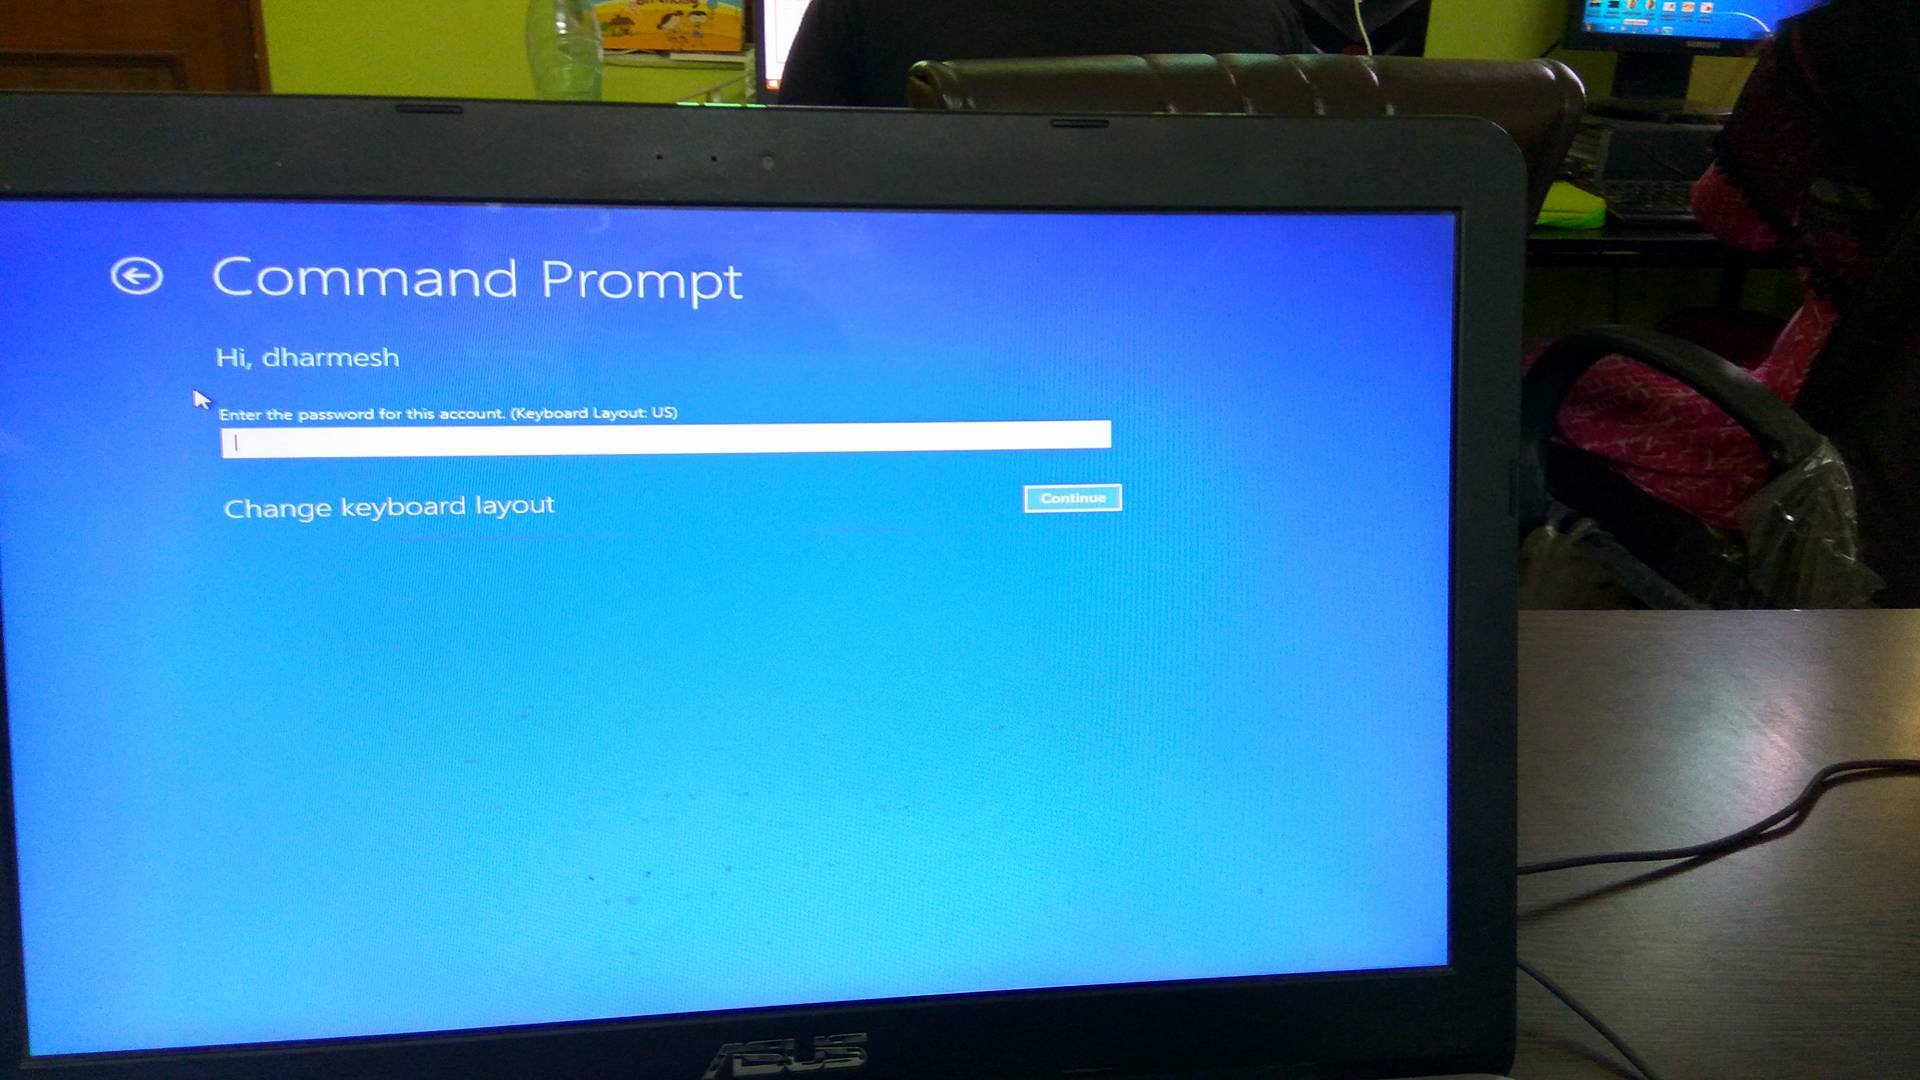
Step 3
In the third step, you will have to put the command that will be required. Here are the details of the commands that you will have to put. Just put them according to the series.
First command: cd %windir%\system32\config
Second command: ren system system.001
Third command: ren software software.001
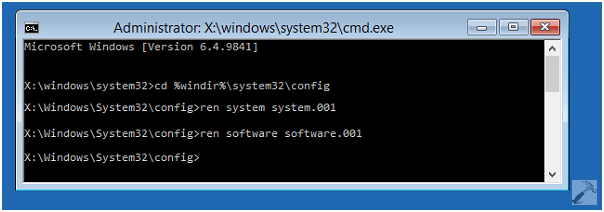
After the steps are over, you will get a tool box, where you will be given an option and you will have to just put the command on. You will get a continue key there, just click on that continue or press enter, your recovery will be started and that will be fetching your booting issues. Finally, the complete problems will be resolved in all styles.
Method 2
If above method does not work for you, this is another method you can try out. In this method we will set custom recovery image location. So you need to have a ISO image of your window. We will use the recovery image from the iSO file.
Step 1 : First Create a New Folder with name WIN-RECOVERY in your C:/
Step 2 : Now copy the Install.WIM file from your iSO image Sources folder. And paste it to the newly created folder.
Step 3: Now Open CMD and type REAGENTC /INFO. You will find that you recovery loaction is missing. So to set your custom recovery path. Type reagentc /SetOSImage /Path C:\WIN-Recovery\install.wim /Index 1
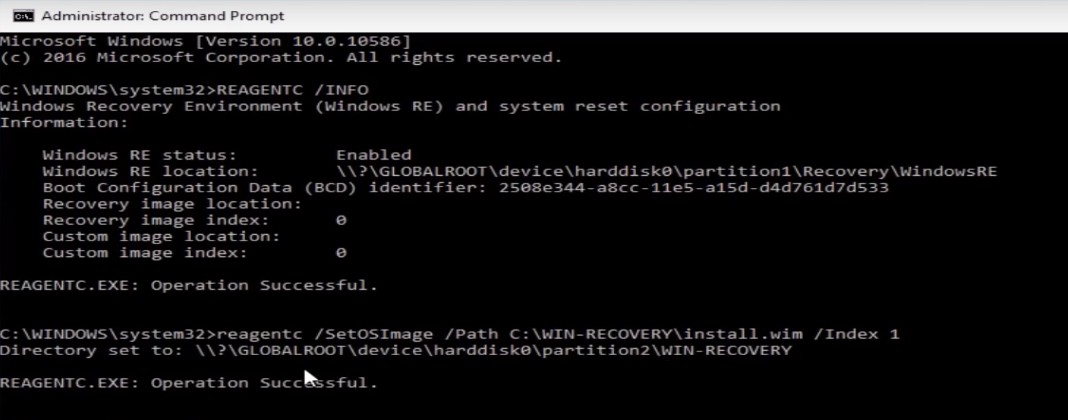
Now you can recheck the update location by again using command REAGENTC /INFO. If it shows the new updated location. You can now retry to reset you PC.
The support that is shown in the above images are all the windows 10 supports. So get it in your device, if you are using Windows 10 OS. If you are not using 10, but 8 or 8.1, the process to resolve the issues is almost same. If you are facing any sort of booting problem, the above method will be ideal for you. Just get through the practice and get the real time aid to resolve your OS working.
