

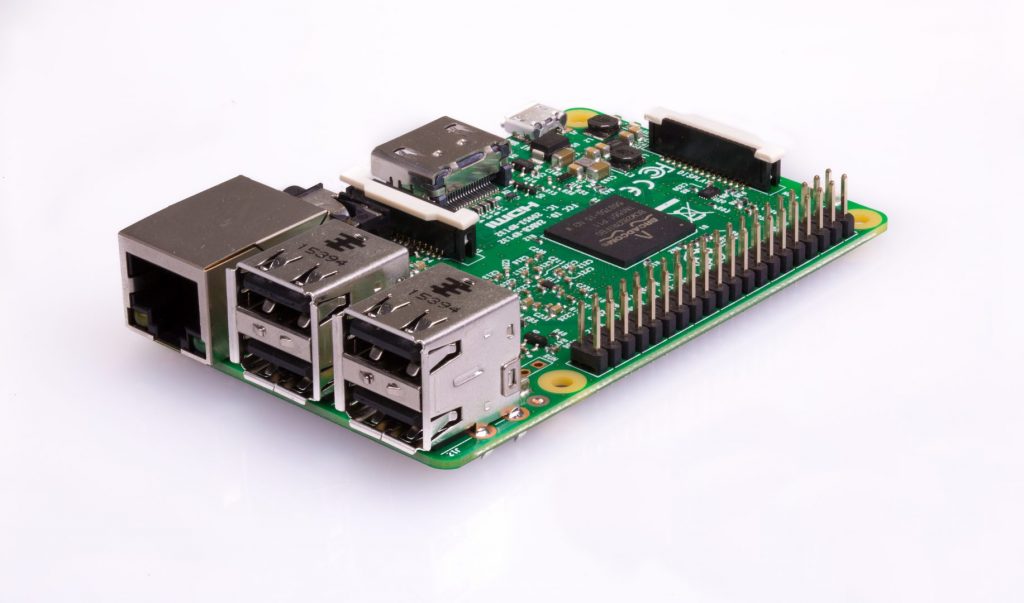
Electronics are the most basic building blocks of technology. Computers have changed the world around us. It not only makes a complex task easier but it also provides a great platform for new innovations to take place. There are a lot of computing devices present around us. Raspberry Pie is one of the most popular and cheap computers that you can buy.
Just under $35, you can have a fully working computer. You can use it to build your own computing setup or any other type of DIY project. One great use of Retropie is to build a gaming console like Playstation.
Retropie Emulator – Setup And Configuration Guide
You can also install Kodi on it to enjoy the free online content. Retropie is an excellent project that allows you to turn the Raspberry Pi into a multi-gaming platform.
What is RetroPie Emulator?
Retropie is an emulator that sits on top of Raspbian and allow the user to run many classic game consoles. It is a highly-configurable platform that provides a large variety of tools to make it more customized. With minimum setup, the user can enjoy a large variety of games for different consoles. It is also available for Linux and Odroid which is also a single board computer similar to Raspberry Pi.
RetroPie Setup
If you own a Raspberry Pi then RetroPie is a great way to turn it into an entertainment hub. Follow the steps below to know the complete procedure and setup guide for RetroPie.
Hardware Requirements
- Raspberry Pi 2 or 3
- WiFi Adapter (For RPI 2)
- Micro SD card
- HDMI cable
- USB Power Supply
- USB Game Controller
- USB Keyboard and Mouse
- Monitor
Installation Procedure
1. Download the RetroPie image file from the link given below.
2. Extract the downloaded file into a folder, RetroPie SD image will be present in the folder.
3. Now you need to install RetroPie SD image into a micro SD card. For this purpose you can use the softwares mentioned below.
4. Now insert the microSD card in the RPI and boot it. Make sure it have active internet connection and attached input devices and controller.
Retropie Configuration
1. On Boot, you will see the message asking to select an input method.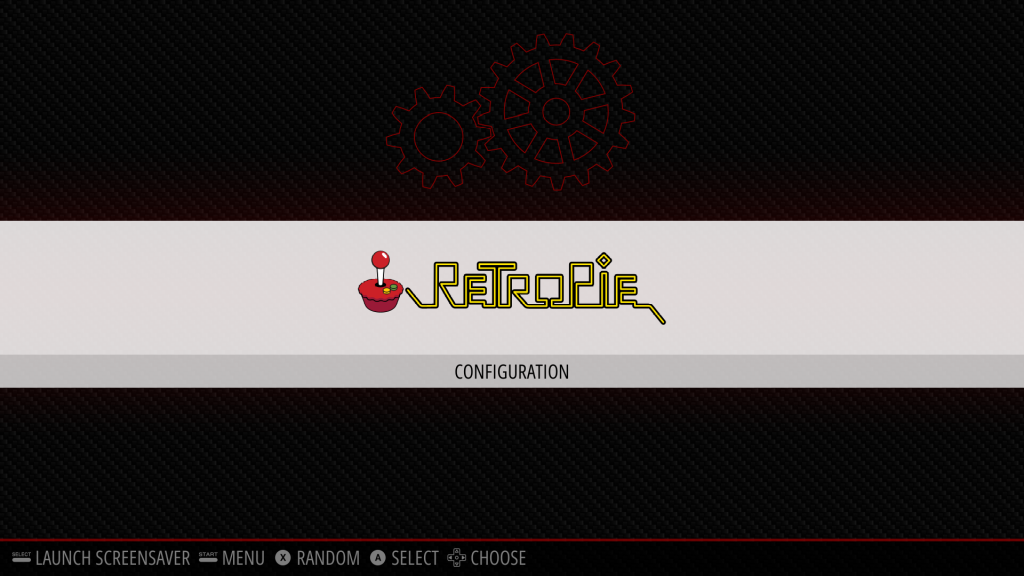
2. Hold any key on your gamepad or keyboard to configure it. Push the button on your controller as shown on screen.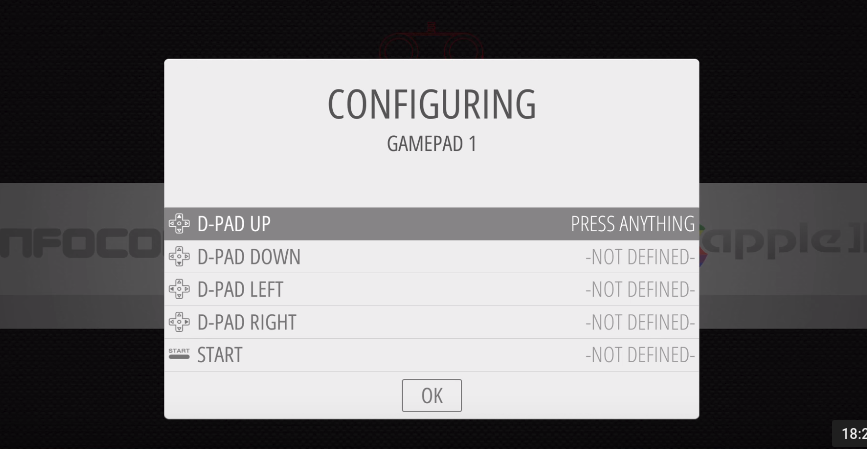
3. You can also use keyboard keys for different buttons.
4. If you are a power user you can configure it as per your requirements by going into the RetroPie configuration menu.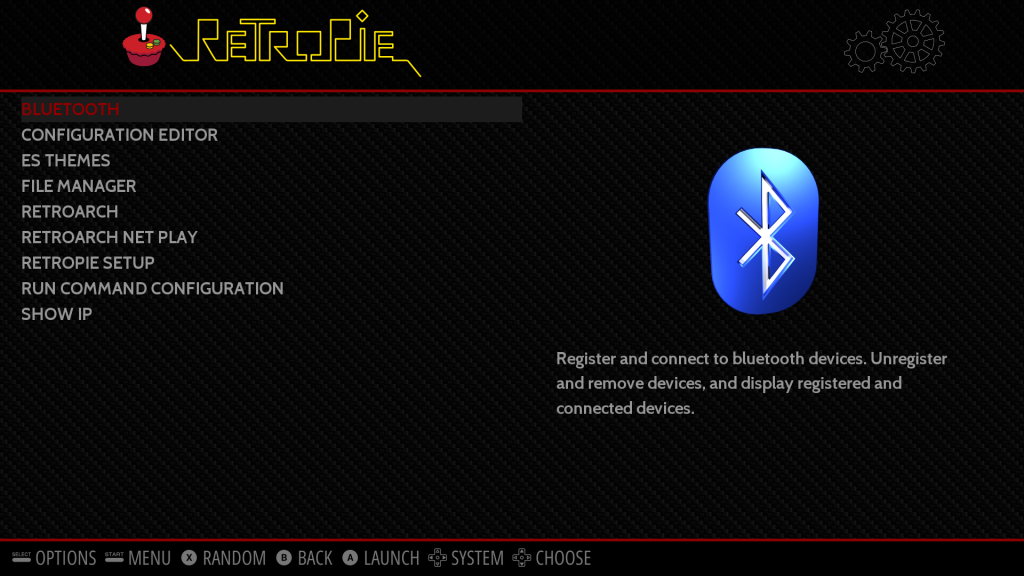
Transferring ROMs
Now that the Retropie setup is complete you can transfer ROM to it to play various games. We use a USB drive to transfer ROM to our Retropie. It is simple and works fast.
You can download ROM files from various online sources, Just choose the console for which you want the ROM and download it.
1. Plug the USB drive into your computer and format it.
2. Create a new folder and rename it Retropie.
3. Now plug this USB into the Raspberry Pi.
4. Wait for five minutes till it stops blinking.
5. Now pull it out and plug it into your computer.
6. You will find various folders for different emulators.
7. Copy the ROM files into their respective emulator folder.
8. Plug it back into the Raspberry Pi and start it.
Now it will show you the name of all the emulators available and the games. Select the emulator and game you want to play.
The thing to note here is that you need to tweak some settings in order to get the best graphical output. It is not complex and you will soon get the games up and running.
Conclusion
Raspberry Pi allows the user to build many interesting things. Retropie makes it simple to turn it into a gaming station. By following the method described above you can easily setup Retropie emulator. If you get stuck on any step feel free to ask us in the comments.