Earbuds have become the best buddy for many of us in this modern day life. Their ability to let you enter into a completely new realm by just plugging in the ears makes it a worthwhile choice to have. In fact, in times as of today, finding our little wee-space even in midst of the surroundings and crowd is only possible because of this quintessential boon (read noise canceling earbuds).
Earbuds have had their own sort of evolution over the times from those gaudy looking odd pieces to the majestic ones available these days. The functioning side of things too has gone drastic changes and reached to new heights where we now have state-of-the-art earbuds quite different from those normal ones back in the day. Those state-of-the-art feature noise-cancellation ones, wireless ones, wired ones and much more.
We here on our part will be looking at the range of noise-cancellation earbuds and rank them out for you down below. We’ll follow up with all the best picks from the market and give our stern view on the same. So gear on as we present to you the ‘Best Noise Cancelling Earbuds as part of our today’s entry.
Best Noise Cancelling Earbuds
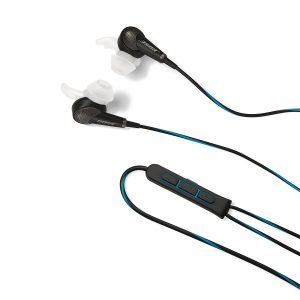
It remains a fact that Amar Bose was the first one to offer noise cancellation headphones to the users out there and it remains the benchmark setter in the sound industry adhering to its finest range of earbuds. This one comes with the best in class noise cancellation technology and features pretty comfortable fit for your dear ears.
This noise cancellation earbud is the perfect piece for those seeking highest ordeal of sound quality. The competitive ANC (Active Noise Cancelling) feature allows it to magically delete the noise in the background and allow you to focus on only the music on offer. The noise cancellation works better on even those high pitch sounds.
These earbuds on offer are sure to remove all the external noises kind of street traffics, human voice overs, chirpings, chaotic outside sound and all. It also comes with an additional mode, i.e. Aware mode, which allows you to lower the noise cancellation level so as to let you hear the sounds of people around you. The Aware Mode works with the ease of just a simple press button.
The battery life on this one is 16 hours and can be charged via USB. It uses lithium ion batteries and will last for over 500 charges after which the capacity shall start to diminish at a slow rate.
2) Phiaton BT 220 NC (Best Alternative to High-end offerings)
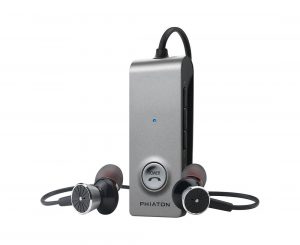
One of the best value for money kind of pieces out there in the market, Phiaton BT 220NC is a great piece to have. This one is an updated version of the previously famed Phiaton PS 210 BTNC model. It is known for high-quality ANC earbuds for long.
Phiaton BT 220 NC comes with good noise cancellation with an efficiency of over 95%. It comes with a comfortable fit and has a lightweight design. The battery life for the same is 16 hours on an average. It can be used on both the wired and wireless versions with Bluetooth connectivity for the same. The Bluetooth connectivity works well in over 30 feet of range. For those seeking a wired alternative, just use the regular micro USB cable and you’re good to go. It also has NFC connectivity that offers you a multipoint connection with ease so that you can connect over 2 devices at once.
On the performance front, it has pretty crisp and emphasized sounds. The lightweight design of this one allows it to have a comfortable fit on your ears and won’t bulge your ear lobes a bit. These are pretty well-built ear buds but cannot be expected to offer the durability as those of the highest ordeals.
3)TaoTraonics TT-BH06 (Best Noise Cancellation Earbuds under 100 Dollar)
If you’re looking for a great noise cancelling earbuds without looking to shed any of your top dollars, then this might be the perfect piece for you. TaoTraonics TT-BH06 comes with an affordable tag and is paired with pretty comfy features.
It works just as it promises and has fine technical aspects ingrained within. The earbuds perform on a decent not but won’t likely to entertain those who seek the high-end options. Nevertheless, at such a nifty price tag you can’t argue much, can you? Its noise cancellation part works well on low sounds but when the noise on the surrounding reaches a high note, it sure to interfere with your musical experience.
The battery life on offer with this one is 5 hours which is pretty much a decent output for those indulging in normal usage. The design aspect of this one is plasticity and can hold sweats. This means it’s a worthy investment for having a run around the park. The customer service of TaoTraonics is pretty good and will help you when needed for. It’s Bluetooth connectivity is of 4.1 and works well for 30 feet range. There’s also a built-in microphone with this one.
4) Audio-Technica ATH-ANC23 QuietPoint Active Noise Cancelling Earbuds (Great Option)
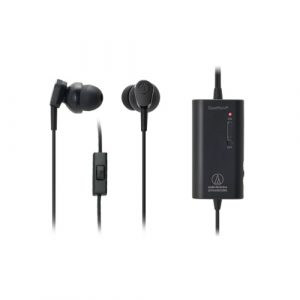
Audio Technica remains a popular name whenever the talk of earphones pops up. Their performance, efficiency, and pricing make them quite a fine investment. May be it’s a reason why they remain a top seller of the bunch.
This one from them, Audio-Technica ATH ANC23 comes with great noise cancellation feature with an efficiency of over 95%. The noise cancellation aspect is in comparison to those of Bose QuietComfort 20 and that of Phiaton BT 220 NC. It offers high-quality sounds with greatly emphasized mids.
It’s pretty well built and has great battery life. Although it’s made up of plastic you can rest assured that this will last for long. It can over a battery life of over 60 hrs. adhering to its AAA battery that’s ingrained within the attached case. Furthermore, the battery is interchangeable and offers great flexibility in replacing them when needed upon. It doesn’t have an entirely different microphone as the earbud in itself is engrained with the mics.
5) Shure SE846-CL (For those who love pricey things)

If you ever thought that noise cancelling earbuds could never be the fanciest of the lot, think again. This one from Shure envisions realms that humankind doesn’t necessarily stress to think off. The question might pop up as to why. Well because this euphoric audio rendering earbud is in a league of its own at $999. Yup, you read that right.
Shure’s SE846-CL comes with customized ear-molded pairs and has clearest of sounds you’ll ever find anywhere. It features high quality, Kevlar-reinforced cables that can be removed when needed for. The cables are encased within a transparent sheathing that helps make it robust. The product comes with nine pairs of ear tips to use for.
It has serious sub-bass feature that makes it feel as if you’re listening to a sub-woofer and sports natural sound with deep bass. The sound gets zero distortion and can even amp up to a treble-boosting mode where the sound gets brighter and edgier.
It offers a lovable experience when used for and can surely be deemed as the one to look out for if you can shed a few top dollars of your wallet.
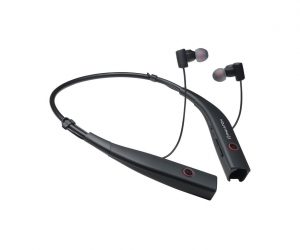
Getting yourself a wireless earbud with top-notch noise cancelling feature is truly something not many can master. But it doesn’t mean that you won’t succeed for. Among the list of fine noise cancelling earbuds, Phiaton’s BT 100 NC deserves quite a respect for it noise cancellation, wireless and fine performance feature.
This one has a bright audio experience and offers something of a good noise cancellation option. It is designed with a neckband style and has flexible ear tips to allow you a smooth audio rendering. The IPX4 rating engrained within allows it to be used in rough water resistance. There’s also a phone button on the top left panel that provides an option to answer or end calls apart from a host of other options.
The noise cancellation will help lessen the AC hum or even the rumbles from the planes and trains. It will hold good for any of you want a decent experience.
The earbud can be used even in wired mode, something not seen on many Bluetooth earbuds. There’s also an inline mic with this one. The noise cancellation circuit works surprisingly well with wired modes too. It is sure to offer a battery life of over 7 to 12 hrs. which seems pretty decent for any of heavy users.
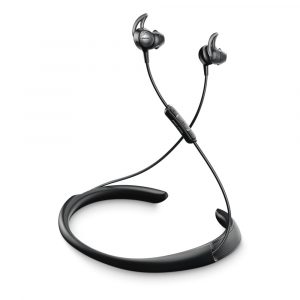
Another one from the lineage of Bose, this one is a nifty wireless piece that offers fine noise cancellation. It’s equipped with premium sound rendering and offers good ANC performance. The earbud setup is pretty comfortable to wear and can offer comfort even for longer hrs.
With the brand name of Bose, you can rest assured of the performance and that’s what sets this apart. It comes with a lightweight neckband that houses the dual microphones. Its performance lends it upper hand among its competitors.
The sound output is pretty crystal clear with good bass functioning. Volume handling is also pretty good with balanced frequency response. Any of lower frequency noise will be canceled with ease.
The piece is pretty high durable and offers flexibility on the neckband diminishing the chances of strains. The StayHear along with QC silicone ear tips help in lending better comfort to the ears. The Bluetooth connectivity works great with all the devices. It offers a battery life of 10-hr on a 3-hr charge which is pretty good to have.

It might surprise many of you seeing Huawei’s name pop up on the list of the best noise cancelling earbuds. But that’s the thing, Huawei is truly one of the best offerors of it. This one from them modeled as the Huawei 185 ANC comes with rich and spacious sound offering in a very comfortable design. The earbud scores great on many aspects of which we’ll deal below.
It comes with active noise cancelling earbuds whose electronics are housed in the rectangular in-line closure equipped with it. The noise cancellation works well with sounds of plane rumbling or road noises but some random noises may breach it.
The design aspect of this one is great with gold gunmetal finished earbuds and cable strain relief. It also has impressive connector quality. Its earbuds are light and fits in perfectly on the ears. With the open case and driver design pattern, you won’t have to battle out for a tight seal.
9) AKG K391NC (Highly Durable)
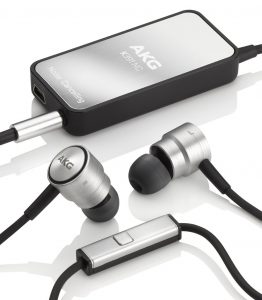
A fine piece of noise cancelling earbuds to have for, AKG K391NC definitely calls for attention. It has great noise cancellation option and is a nifty piece to have for adhering to its high durability casing of aluminum. The sound output from this one is balanced and offers good overall experience.
Its noise cancellation will help deter any of plane or public street noises. But some high pitched sounds will still find a way to penetrate it. The sound quality is impressive with emphasized bass and treble offerings.
The comfort is well thought of with standard in-ear design. It sits perfectly for those who are already used to IEM’s. As stated above, the aluminum casing is top quality and is well supported by rubberized cable that takes the task of protecting. The battery life on this one is great for over 40 hrs. of active playing time on a single charge making it a great option for those seeking a long lasting audio experience.
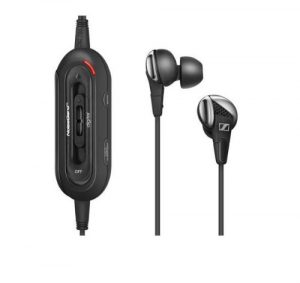
Sennheiser is a pretty well-known name in the audio industry and deserves to be ranked among the best. We simply couldn’t pass by without having a look at this finest offering from Sennheiser, the CXC 700. It comes with an active noise-cancelling option that’s pretty fine to use for.
It has better attenuation in comparison to other headphones and gives the user great option to use it on flights, trains, and others to cancel any of the noise on the outside. The frequency response on this one is good for music lovers.
The earbud is pretty comfortable to wear for and comes with inline remote for additional options. It comes with three different ear tips to fit for as per the need. That way you can choose your ideal fit with this one. It is durable enough to last a good few months and works pretty fine over the period.
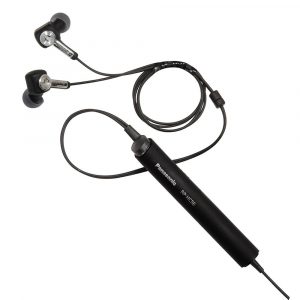
Panasonic is another of those top ranked earbud and electronic manufacturers in the world who is known for their finest offerings. They have been offering great audio rendering devices for quite a few years and this one doesn’t disappoint either.
Panasonic RP-HC56-K is pretty compact earbud with good noise cancellation option. The earbud comes with a clip-on option for support and is powered by AAA battery which can be recharged over and over again. It offers upgraded active noise cancellation and doesn’t seem to feel a nick cheap. It’s functioning helps it to deliver worthy performance while on travel or excursion.
The earbud comes with decent build quality and will certainly last long even when prone to some high octane usage levels. The ear tips are lightweight and feel comfortable in ear canals. A one-time recharge of the AAA alkaline battery will yield over 40 hrs. of usage and is sure to offer long durations of the audio experience.
12)COWIN HE8 Wireless (A Pretty Good Noise Cancelling Earbuds)
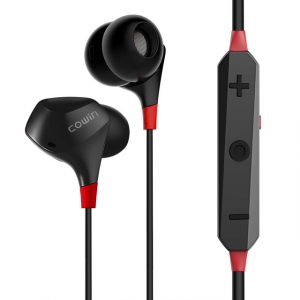
Making its mark on our list of the best noise cancelling earbuds is Cowin with its HE8 Wireless piece. This one from them is a great lightweight option with active noise cancellation feature. Add to that the inclusion of Bluetooth connectivity and this one seems a great option to have.
The earbud performs great in cancelling the noises like that of airplane cabins, city streets, and busy office or marketplace. The advanced drivers equipped with this piece helps in lending great audio experience to the user.
It’s pretty comfortable to wear and comes with additional three pairs of ear tips that can be used as per the need of the user. The controls are also great with just the need of fingertips for on/off, calling option, noise cancellation, music functions and more. It’s sure to last long and can battle the situations like sweat, rains or water splashes adhering to its water resistant option.
Earbuds are a growing trend in times as of today and the offering of noise cancellation pieces makes them a worthwhile investment. Getting yourself a good pair of them is quintessential if you want to battle out the traffic chaos, airline cabin noise, train noise and other rumbling around. Get yourself one of these and you can bide your wee-little time even in amidst the hectic modern day.
That’s all from us on this one. We’ll be back with another one the next time. Till then it’s us bidding adieu.


 Download)")


![Screenshot_2015-01-21-15-08-57[1]](https://technofizi.net/wp-content/uploads/2015/01/Screenshot_2015-01-21-15-08-571.png)
![Screenshot_2015-01-21-15-10-31[1]](https://technofizi.net/wp-content/uploads/2015/01/Screenshot_2015-01-21-15-10-311.png)


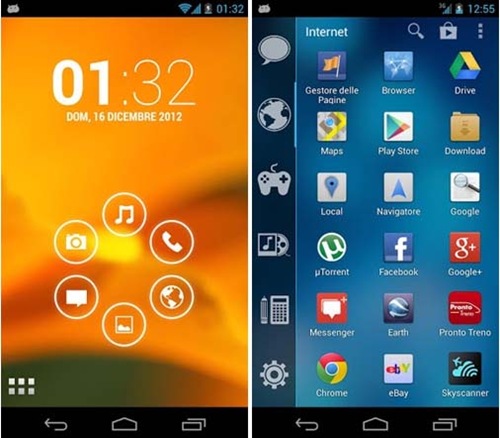
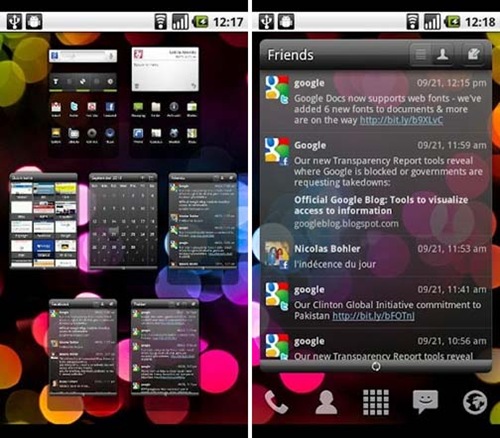
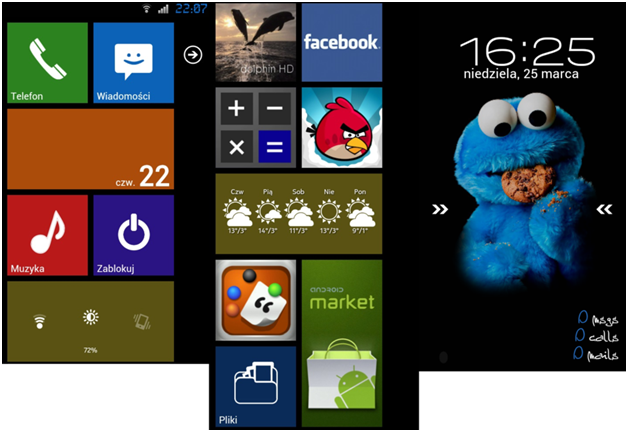
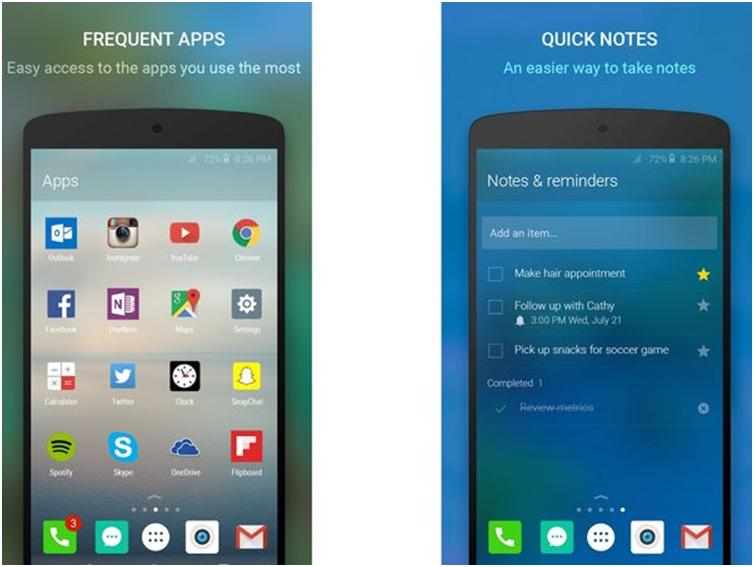 This was the launcher for Android with which Microsoft made its entry into the world of the launchers. The entire look and feel is that of a compact and simple Android environment and one thing about this launcher is your Apps get a sorting depending upon their frequency of usage!


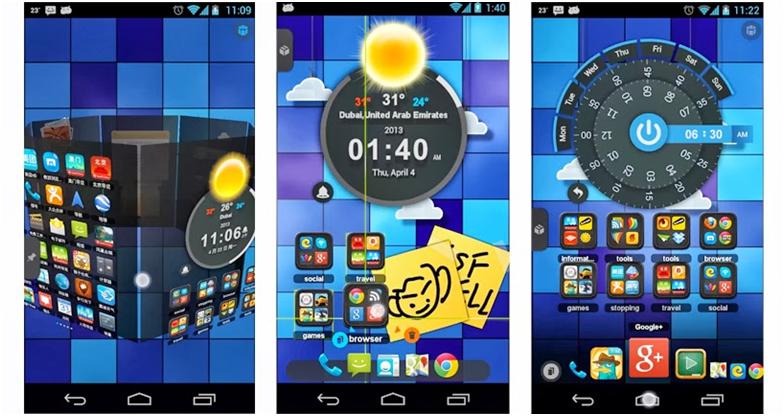
 If you still wish to have the look and feel which is similar to that of iOS, you might want to try this Android launcher. The entire thing about an iOS like ecosystem was quite the craze during that time and so here it is a similar app for the Windows 8. Though that is no longer the trend and the users look for better, you would still like to give this launcher a shot.
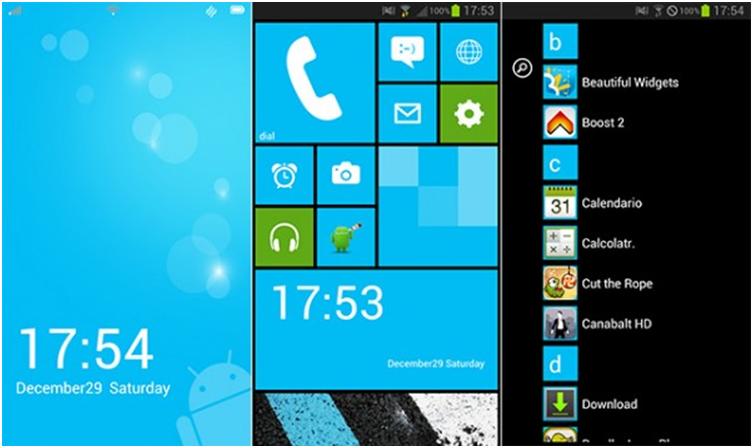
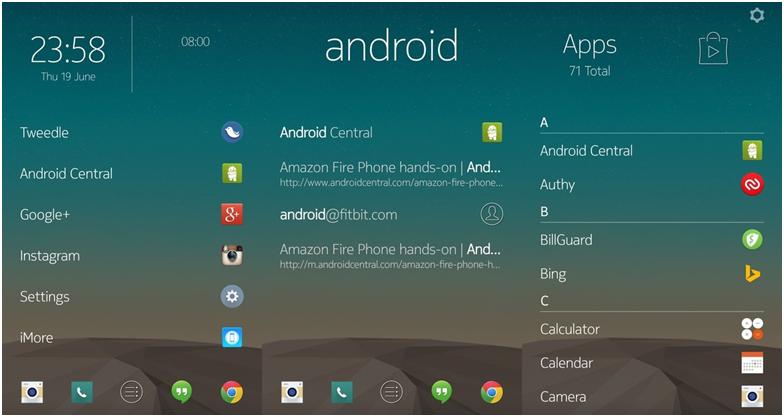
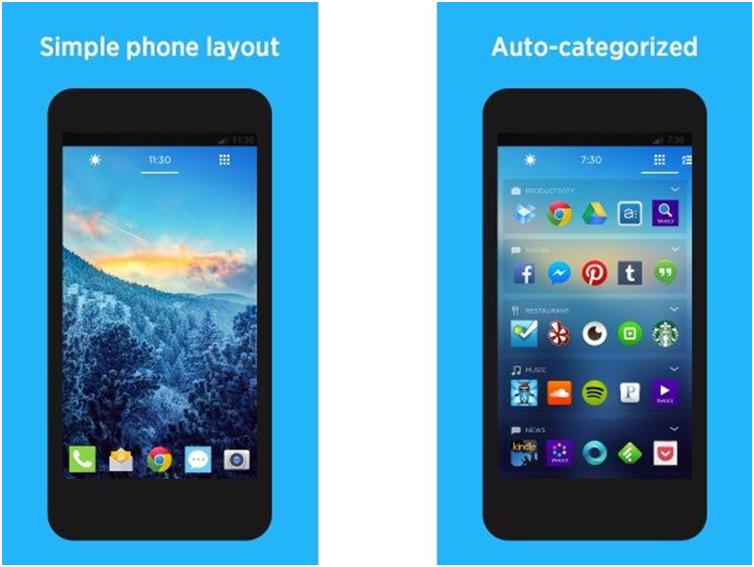
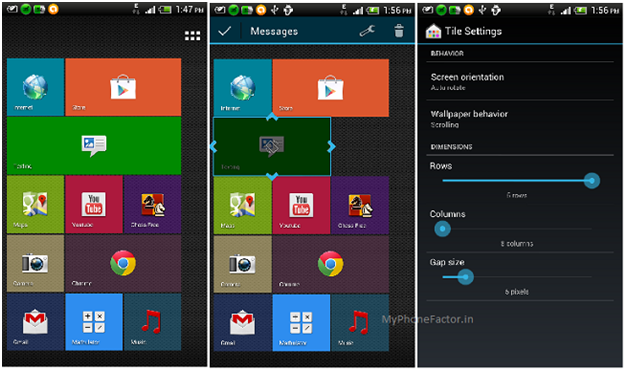 As the name pretty much suggests, this is yet another launcher for Android which lets you have the tile like look on your home screen. The app is still in its preparation phase (quite visible with its name though). As of now you can customize the tiles and slide through the app drawer with support for various icon packs coming from a set of already popular launchers.