Book Reading is a great hobby and great way to enhance your knowledge. Some people spend there most of the time in book reading. Book Reading helps you a lot in many ways like your learn more about various things also it helps to improve your vocabulary also.
Now In the age of technology, paper books are so old fashion and you can not take care of them all the time. Today is the era of the digital books, such as Amazon’s kindle and android tablets, these devices are turned out to be the best alternative for books. So we made the list of the Best Websites to Download Free eBooks.
Best Websites to Download eBooks for free
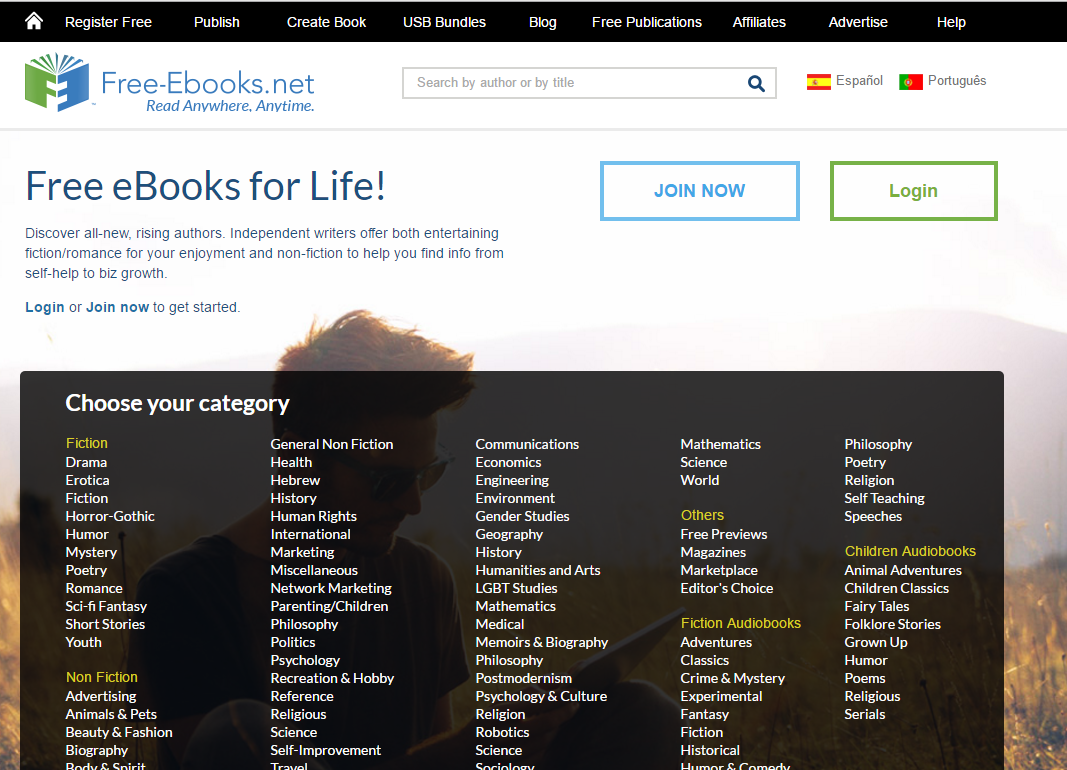
Free–eBooks
Free–eBooks is the best website for free download eBook readers. You can download free fiction, health, romance, nonfiction etc. You can find out different categories which will help you to come out in best result. The best thing about this website is you can download any eBook at the same time you may upload your own eBook also. I think it’s like two-way communication. Feel free to download any eBook which you may like most. What you need to do is simple login on their website, once you are a member of that website then you can easily access this website.
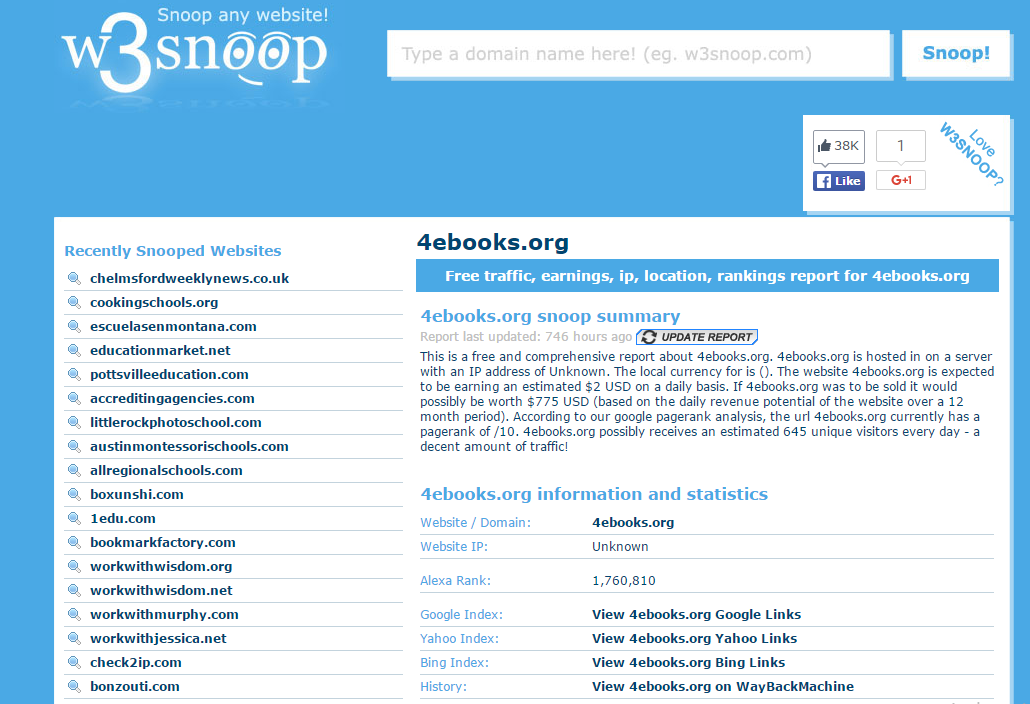
 4eBooks
4eBooks is best known for computer programming free download eBooks. Anyone can easily find out all programming books in one place. There are so many programming books have this website, This website is more useful for who has an interesting in programming. It’s available freely. It’s up to you which language do you want to download.
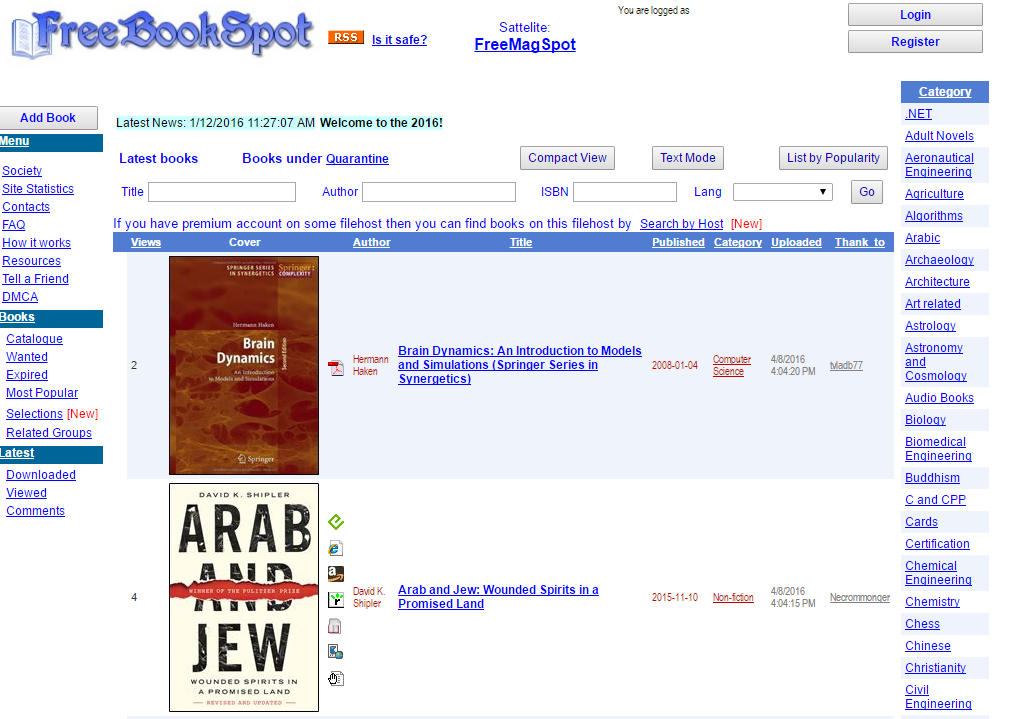
 FreeBookSpot
FreeBookSpot has a huge collection of free download eBooks for everyone. FreeBookSpot is one of the best websites for eBook because it has more than 90 categories. It’s not an easy thing. I think it’s a big platform for eBook readers. There is a search option available on this website so you can find out any eBook within seconds. You may find out different categories such as like engineering, Scientific, fiction, nonfiction, programming etc.
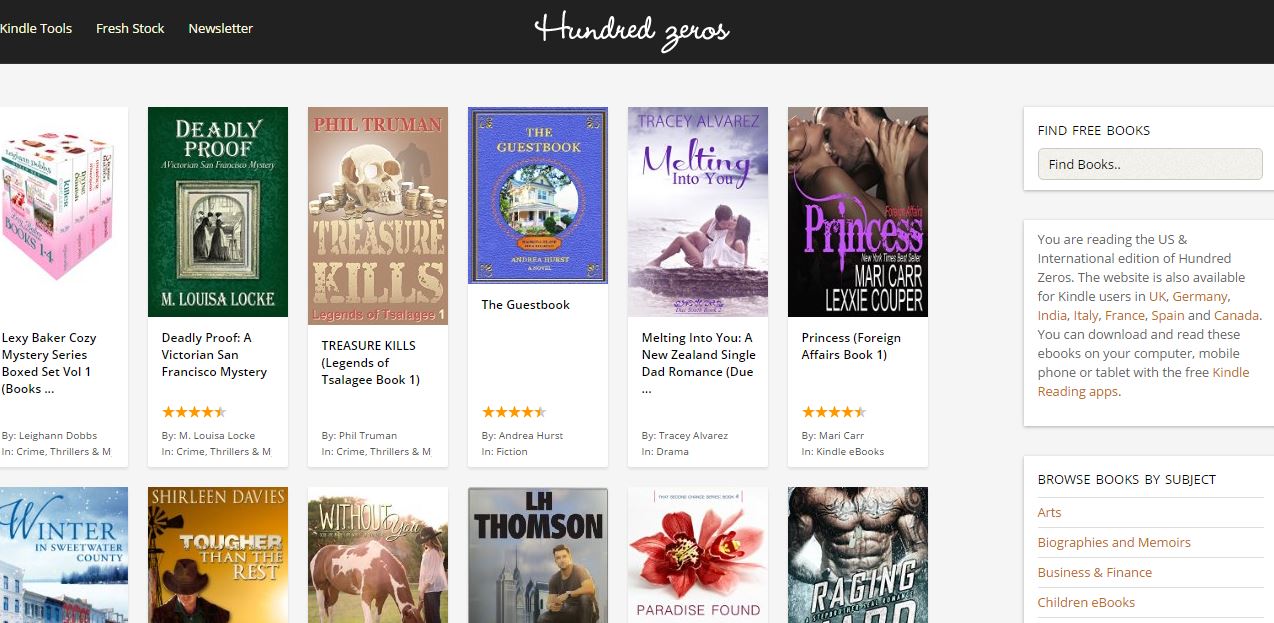
 Hundred Zeros
Hundred Zeros is the collection of Kindle bestsellers books which have gone free. Here you can download the ebooks and read, but for downloading and reading these books you have to download the free Kindle reader.These ebooks span across a large number of categories.So as we told you that you need the app for all the activity.
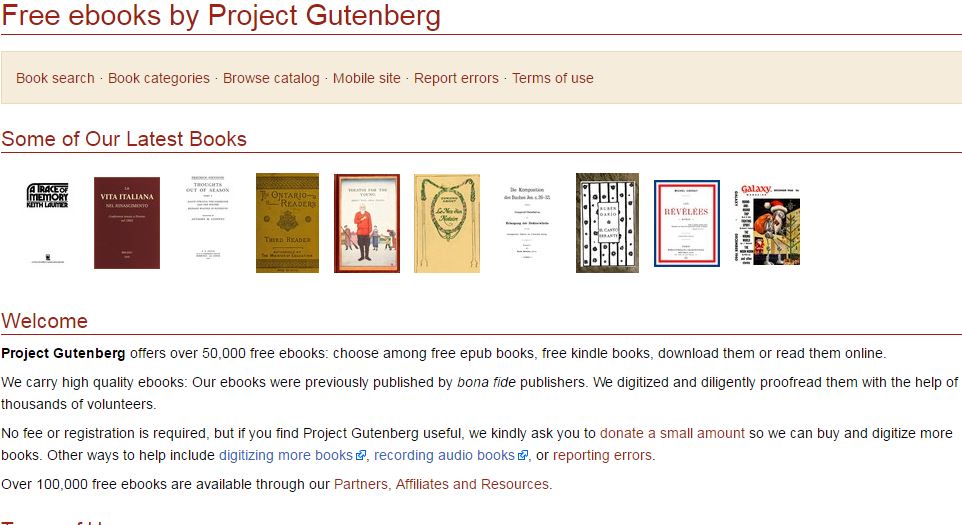
 Project Gutenberg
Project Gutenberg is one of the best sites to download the books of any category. This site contains more than 40,000 ebooks in free. All these books can read online or you can download them also. This site also one of them who started this books and still serving in this field.
 Many Books
Many Books established in 2004 and now more than 100,000,000 books download from this site. It’s been a decade since this company providing their services into this field. Now on this site, you’ll get both free and purchased book also. You can also subscribe here so you’ll get a notification whenever any new book arrives here.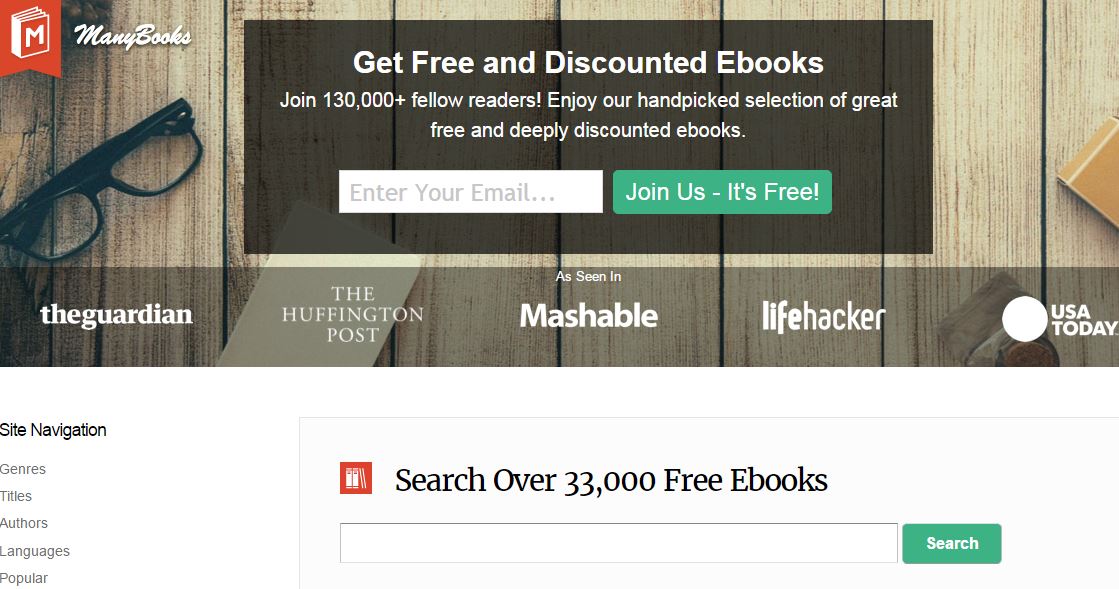
GetFreeEBooks
GetFreeEBooks is also one of the best websites for download ebooks free.This is the only one site of their own kind,and now how?? This site connects the both author and readers.New and aspiring authors can submit their ebooks for free, which can be then downloaded by the community of readers. FreeTech Books

FreeTech Books is the best website to download the computer books. If you are a computer science student and want to download the computer book,programming book then here you can get all the books and also download them in free.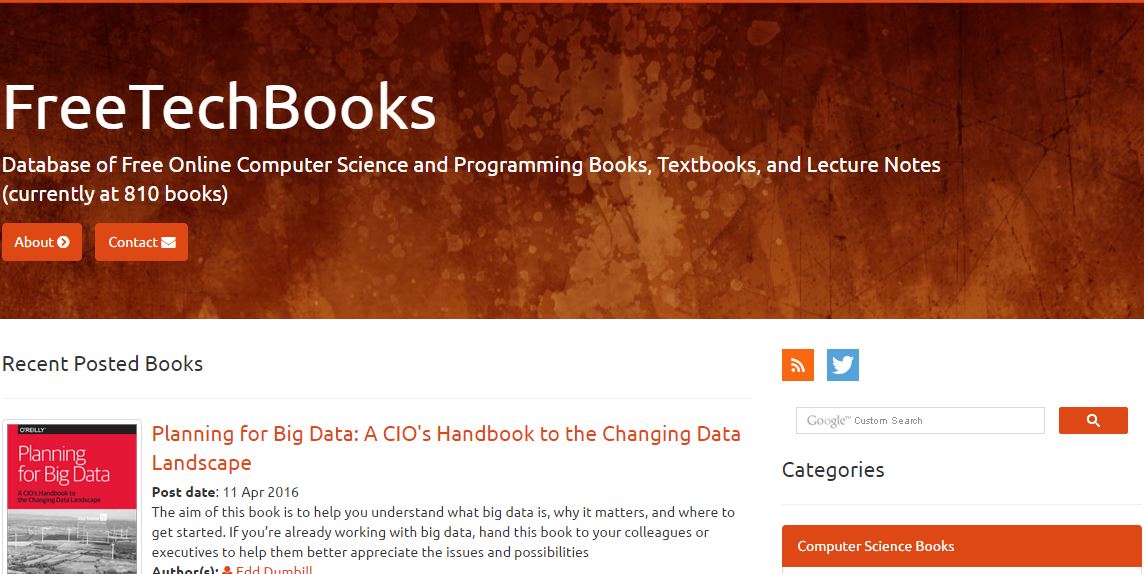
Book Yards
Book Yards is also one of the best ways to download the free ebooks.Here you can also publish your own book and if you like any book then you can also interact with the author. This site helps a lot for the newcomer in this field.They get help from the authors of the bestsellers books. WikiBooks
Wikibooks is the project of the Wikimedia for the content writers. The interface of this site is looks like Wikipedia. Here you can find all types of the book like a computer,fiction,non-fiction and much more. You can also read any book in any language, means you want to read any book in Hindi, English, Italiano much more languages are available.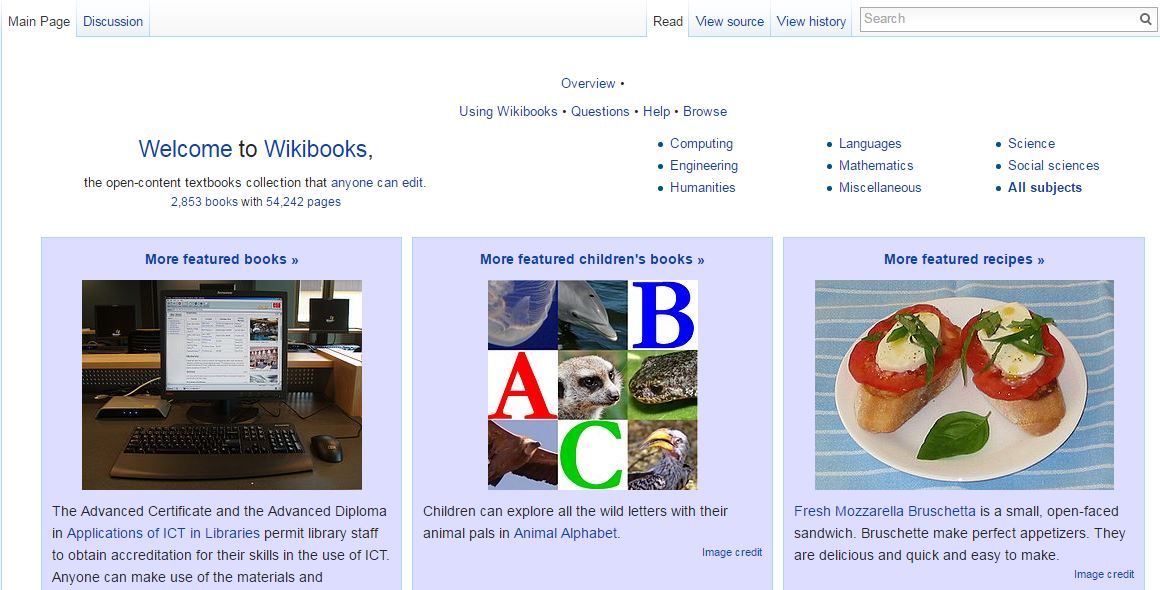 So, reader, these are the Best Websites to Download eBooks for Free, from here you can download the book and read them.These sites are the best and legitimate sites to download the ebooks.If you have any other site then tell us, we would love to add them to our list.


")